Early in development, I experimented with a custom navigation and focus framework adapted from a previous personal project. While it offered granular control, it proved unnecessarily complex for this project.
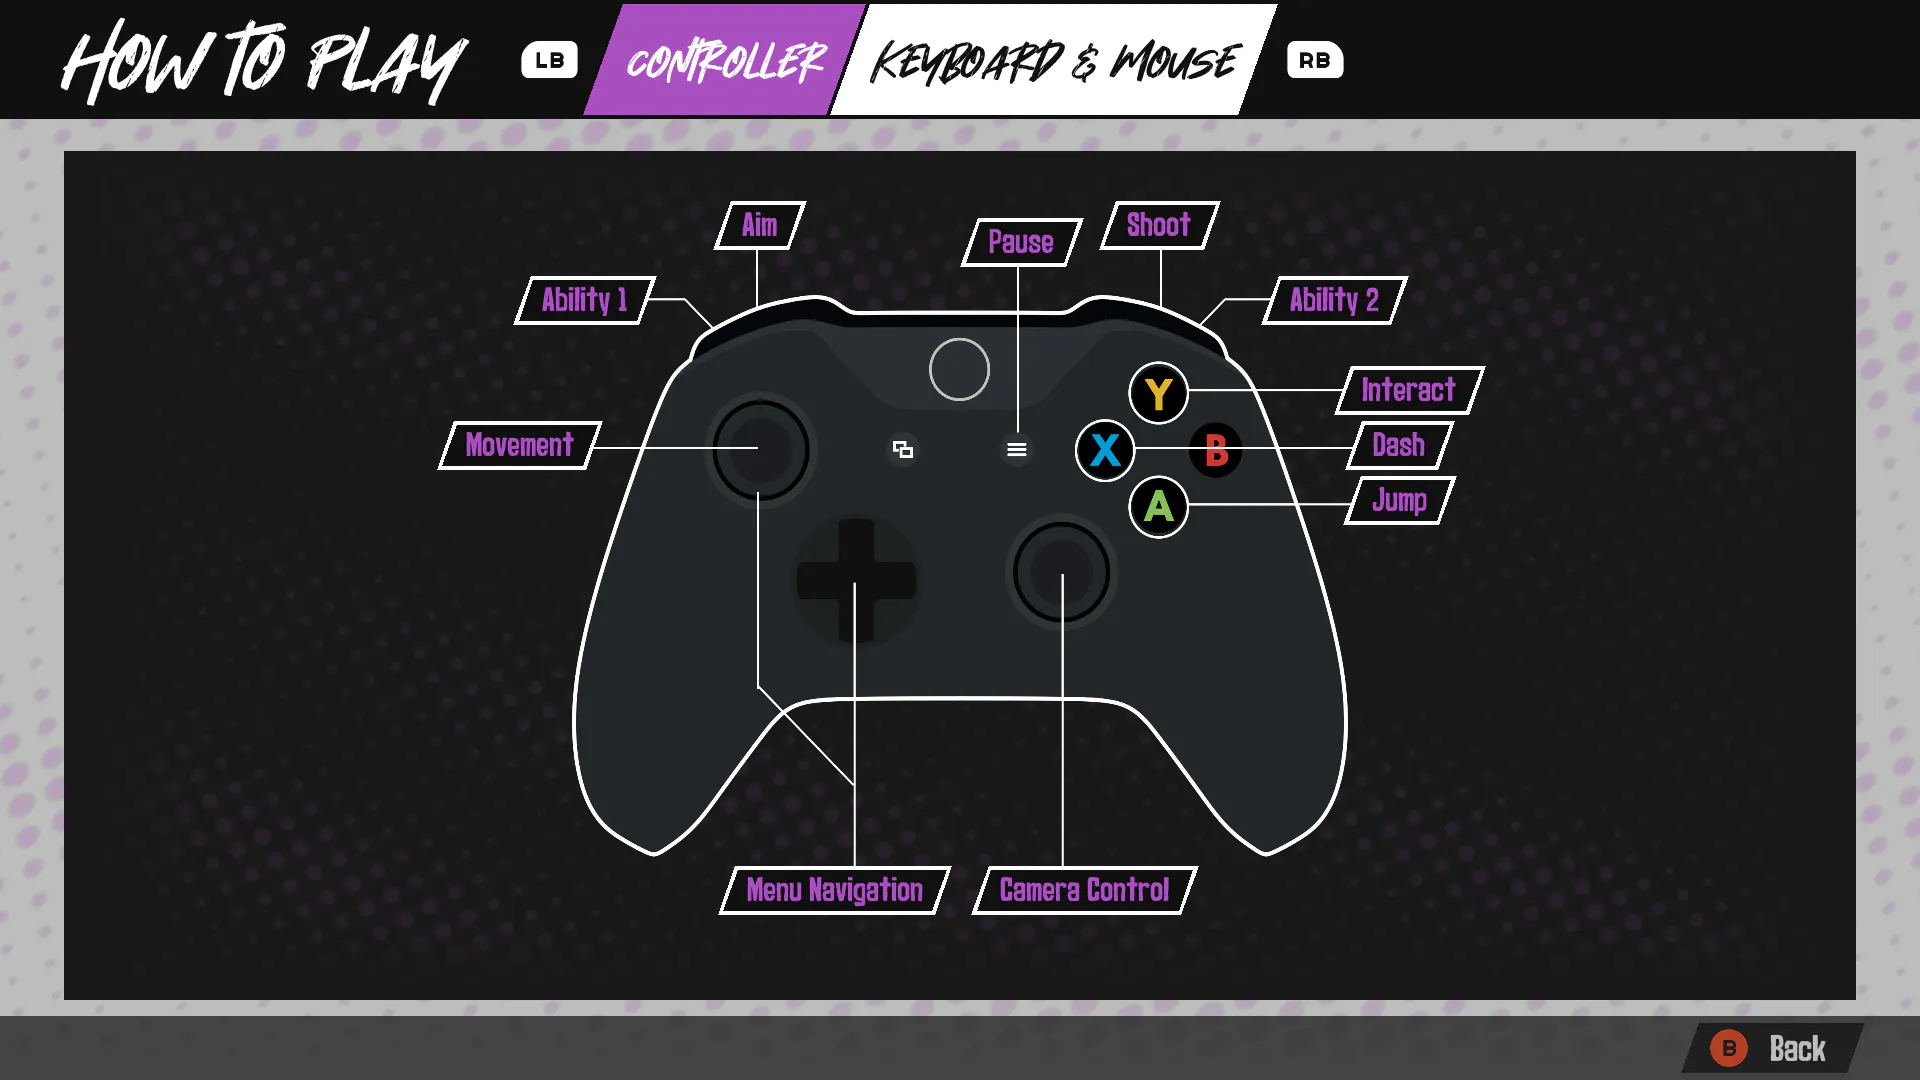
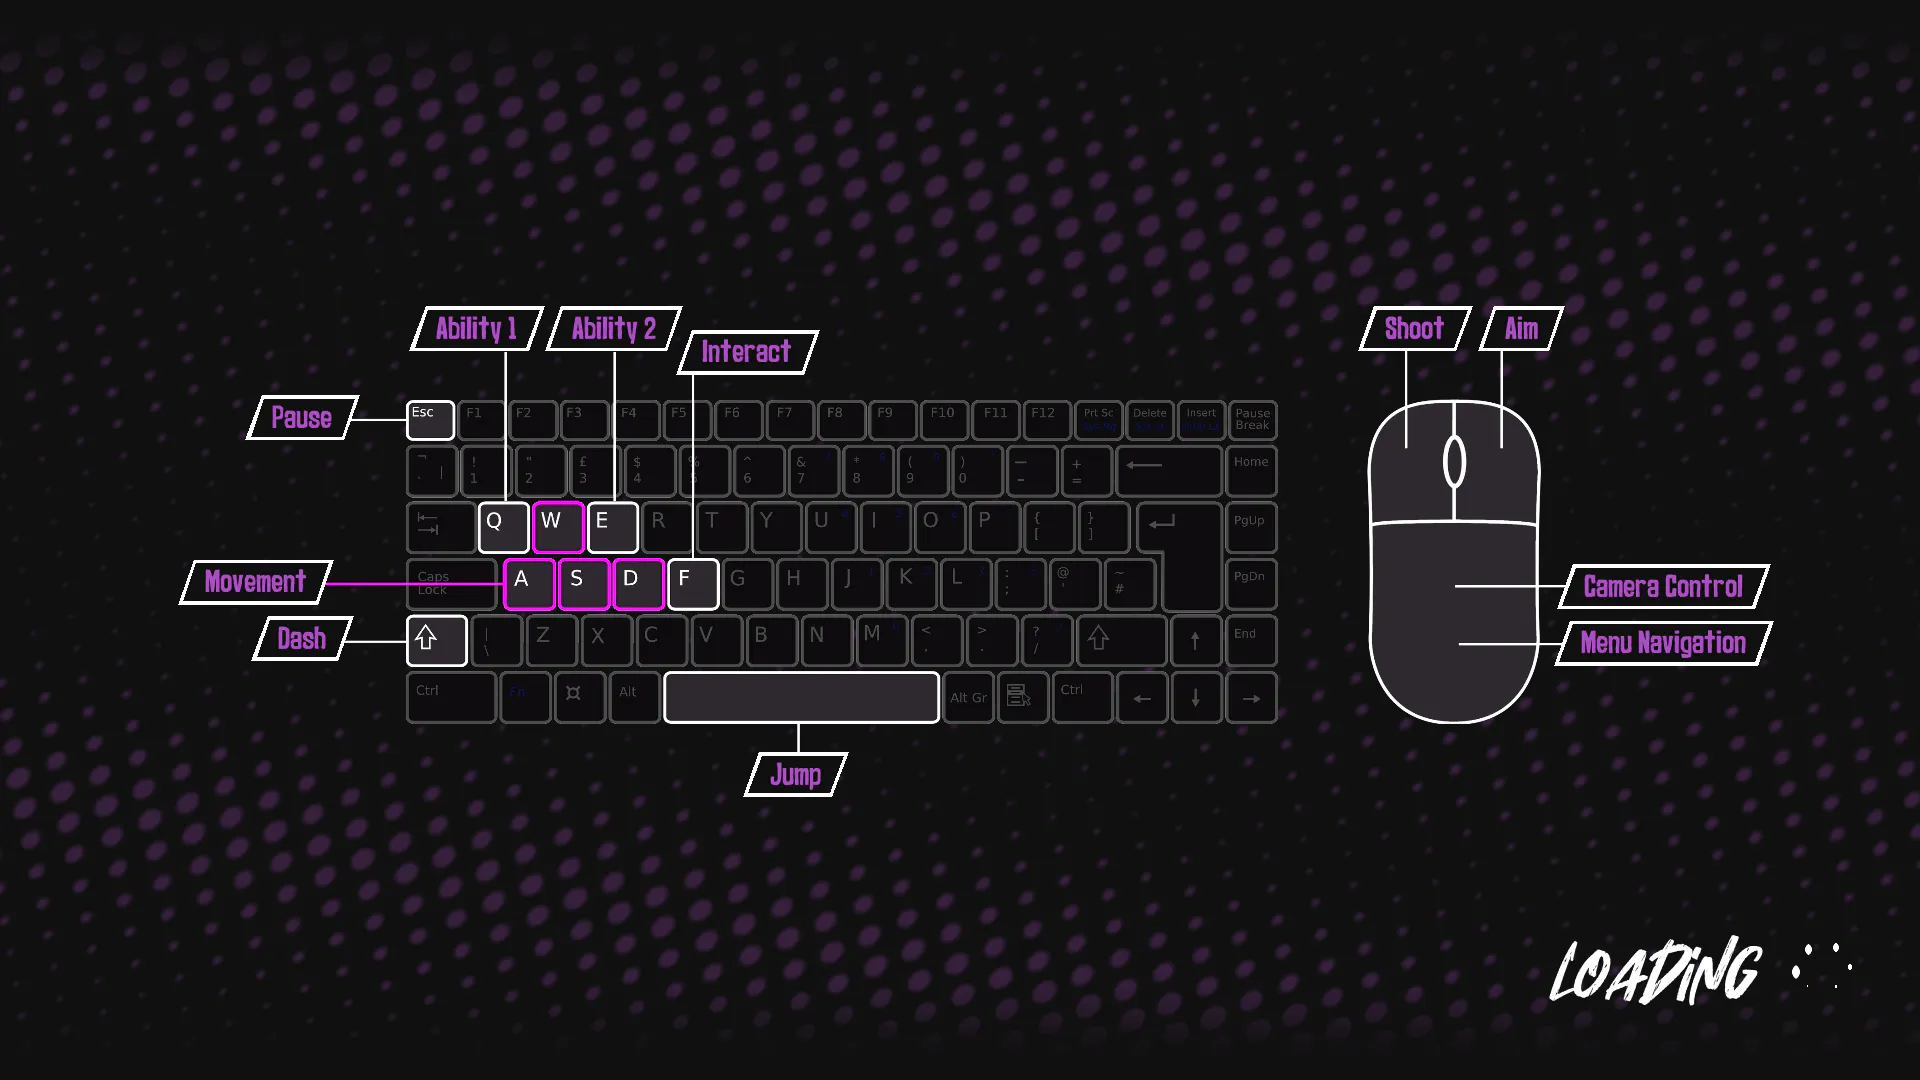
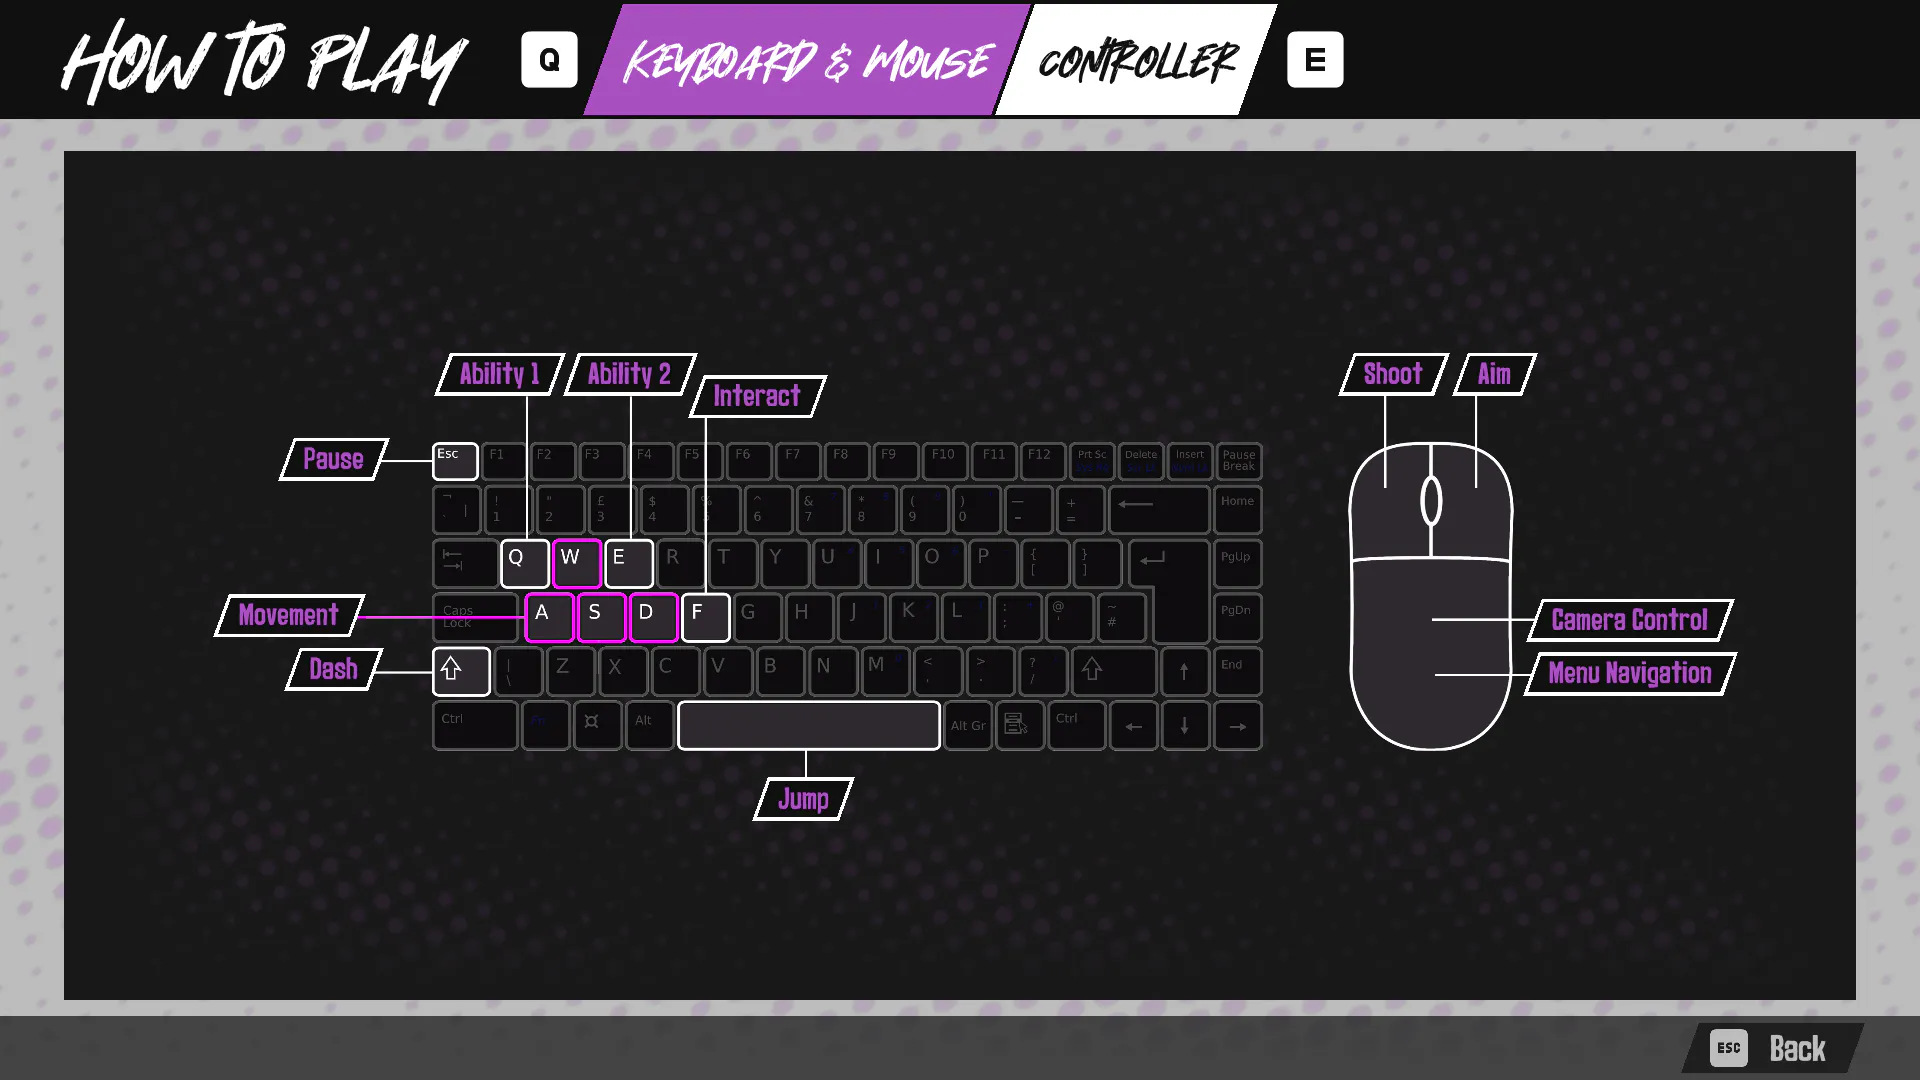
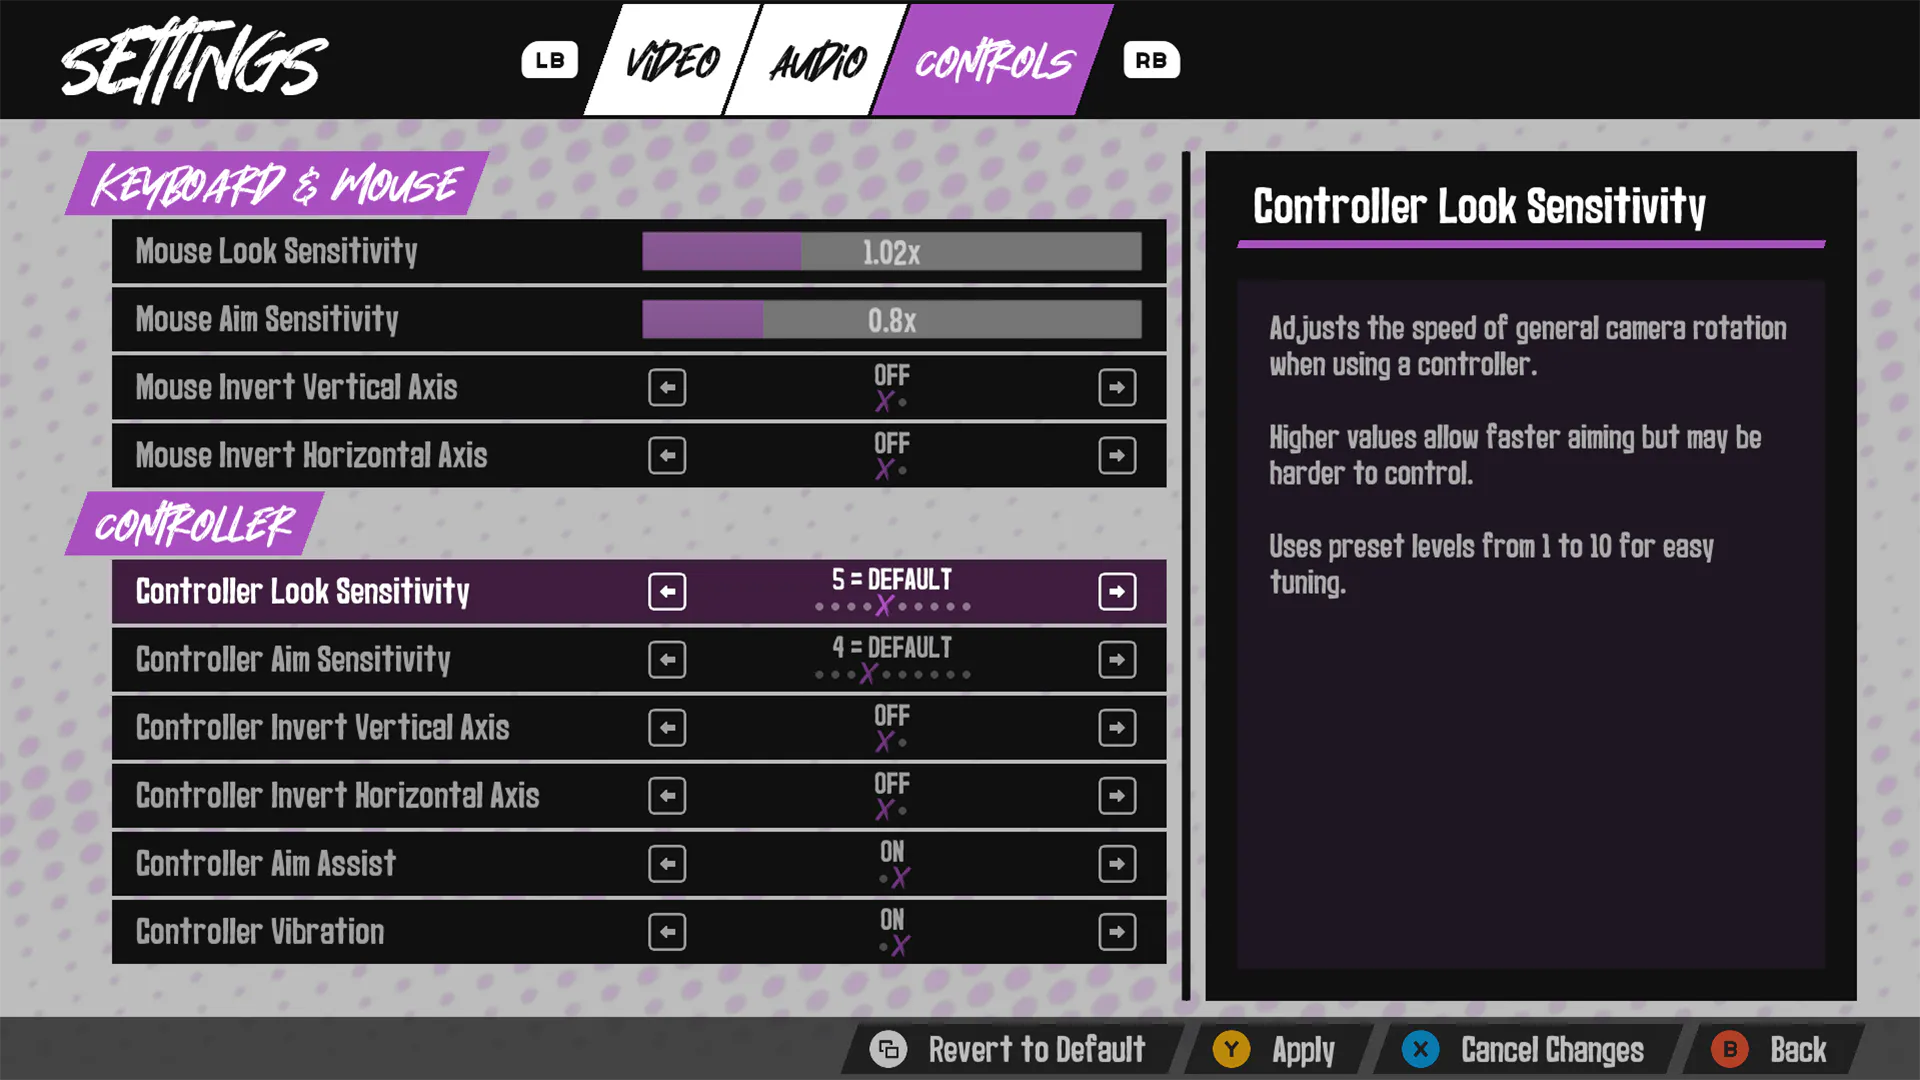
A key challenge was managing the currently focused widget while also seamlessly switching between input devices at any time. During research, I repeatedly encountered recommendations to use Unreal Engine’s Common UI plugin (disabled by default). After reviewing the plugin’s capabilities and discussing with instructors (acting as producers), I transitioned to Common UI, which offered robust focus handling and smooth multi-device input switching.
This decision reduced complexity, improved code organization, and freed development time for other aspects of the project. Implementing Common UI became a key step in enabling controller support, which I advocated for to ensure the grad show experience was inclusive and accessible.
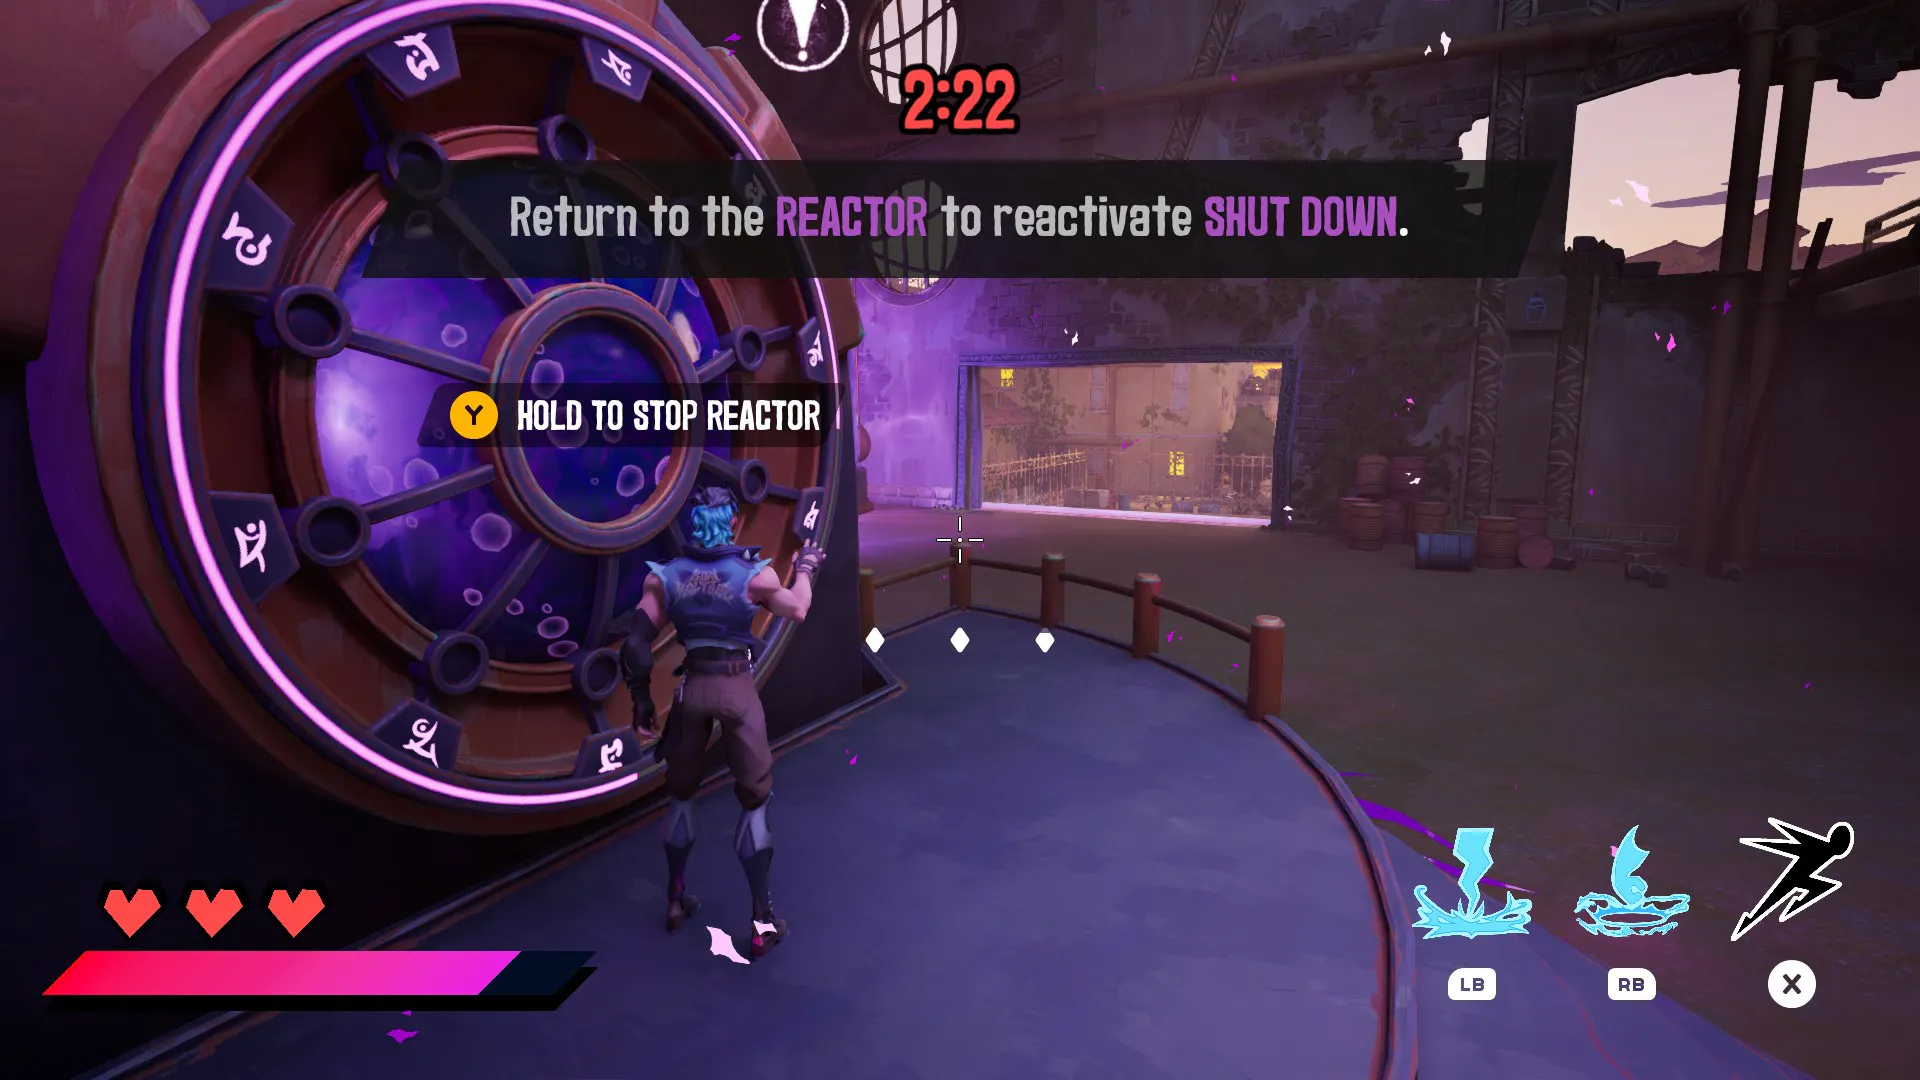
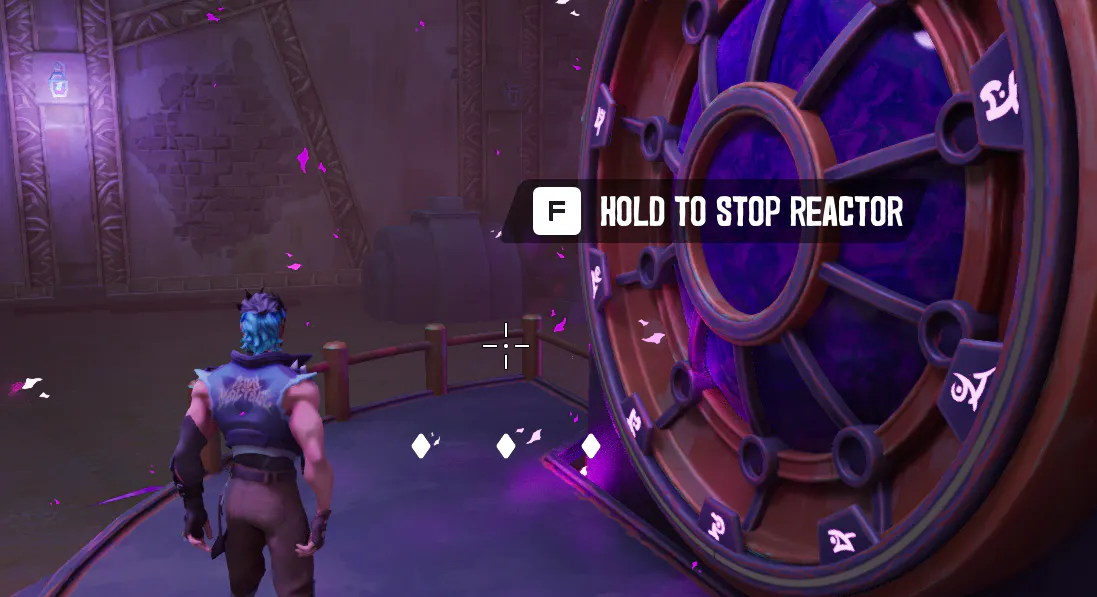
The plugin allowed me to utilize the On Input Method Changed and On Activated events so that menus could automatically update input prompts and focus when switching between controller and keyboard/mouse, creating a polished experience that worked reliably for all users.